家づくりをする上で、父がどうしても実現したかったのがバルコニードッグラン化計画。
ドッグランをつくりたいという思いが、家を建てたいという思いに変えたといっても過言ではない。笑
![](https://ringo-no-outi.blog/wp-content/uploads/2021/09/5C631BA0-0F3A-41E4-9693-1FF79360F400-300x173.jpg)
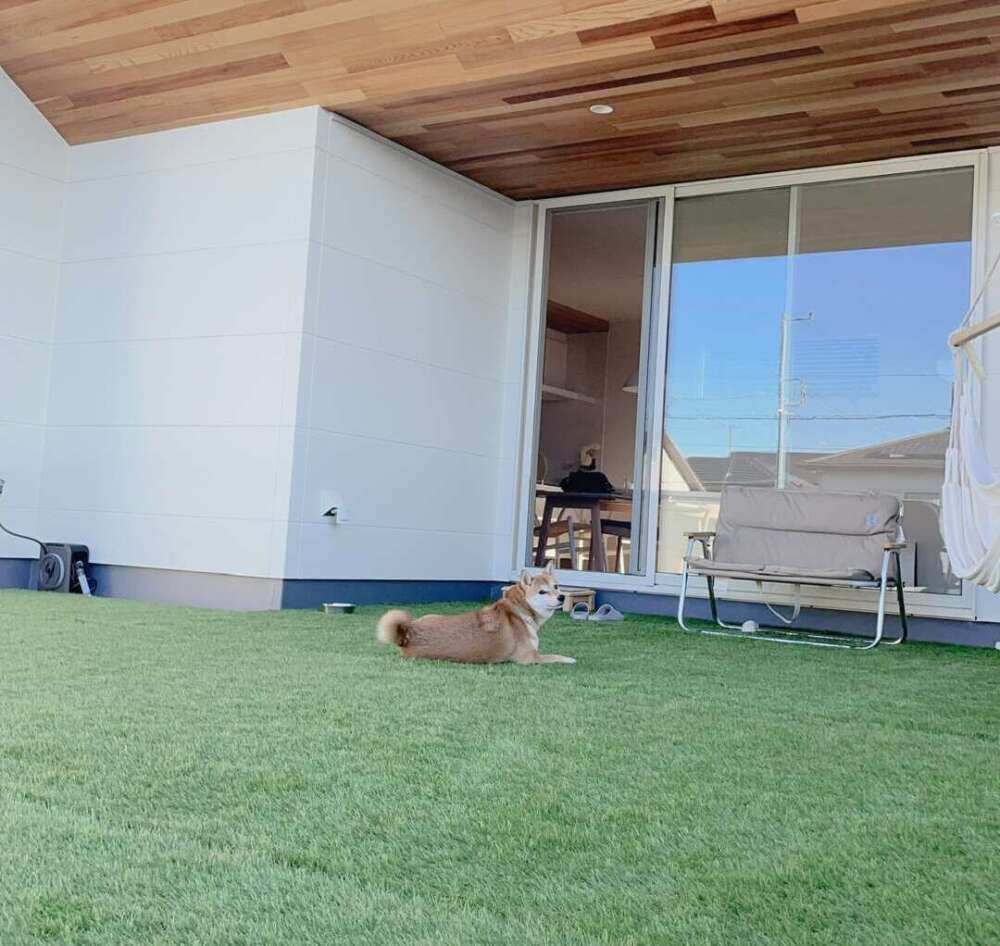
そしてドッグランをつくる前提でつくってもらった約30畳のルーフバルコニー。
![](https://ringo-no-outi.blog/wp-content/uploads/2021/09/5C631BA0-0F3A-41E4-9693-1FF79360F400-1024x591.jpg)
![](https://ringo-no-outi.blog/wp-content/uploads/2021/09/1A22234D-C53F-451C-A54E-51DDBE2CD19E-1024x576.jpg)
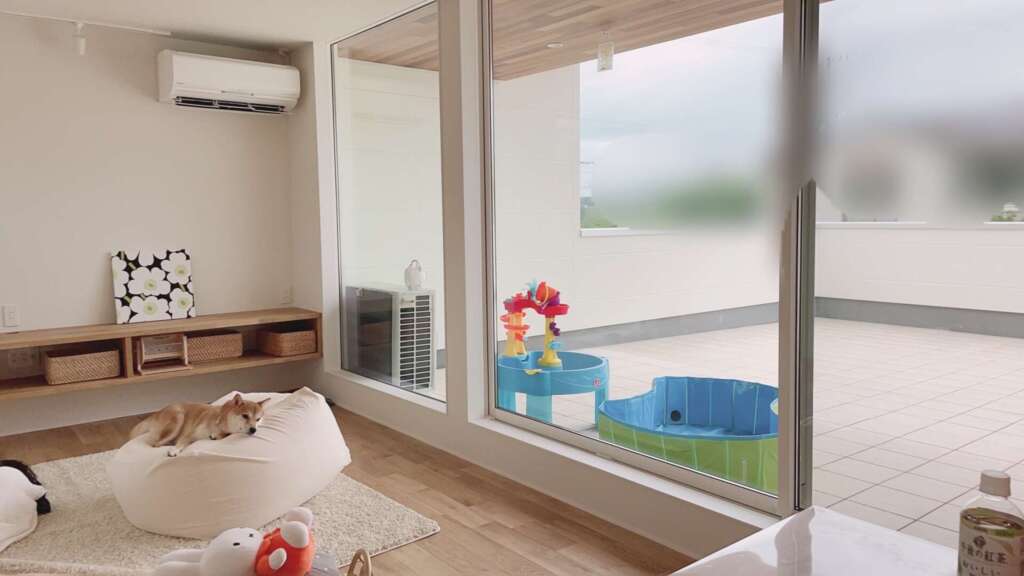
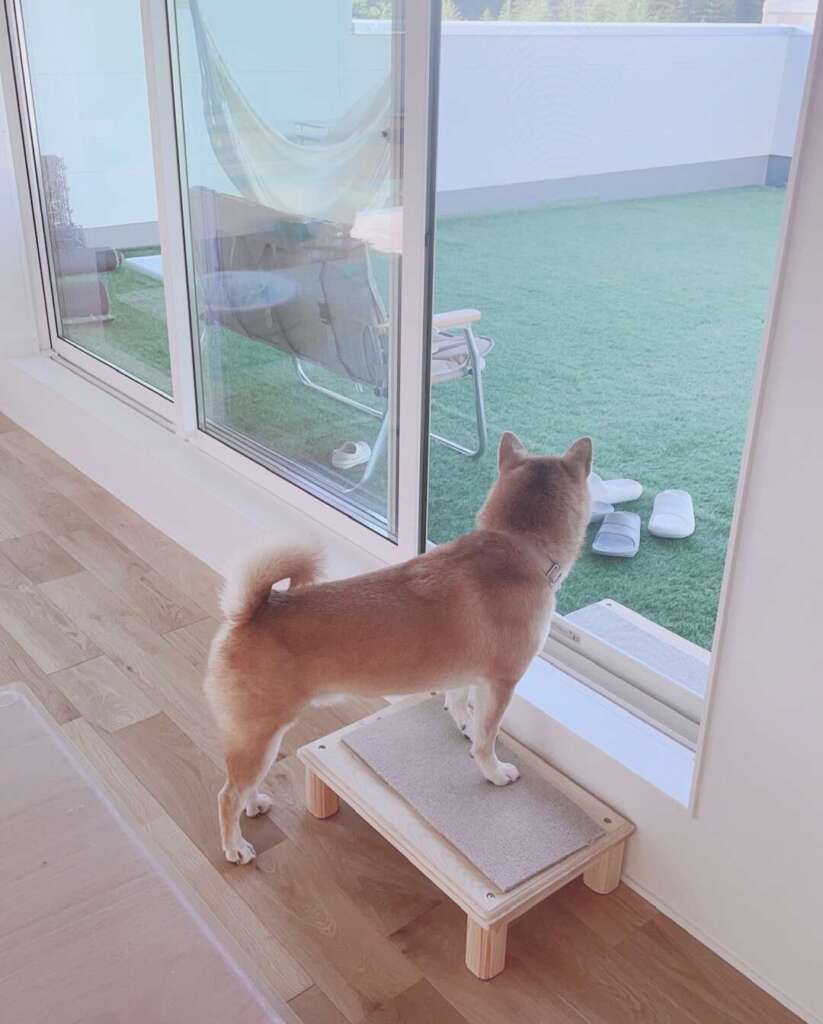
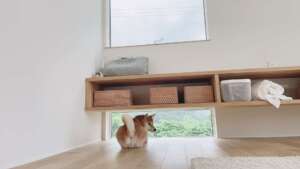
こんな感じでリビングからも自由に行き来できるような間取りにしてもらいました。
タイルの上に人工芝を敷きドッグランへ
![](https://ringo-no-outi.blog/wp-content/uploads/2021/10/0B7A221E-3CE7-4FAD-ACC2-6BDE8236A023-1024x523.jpg)
それでは実際に、ドッグランにする様子をブログでも振り返っていきたいと思います。
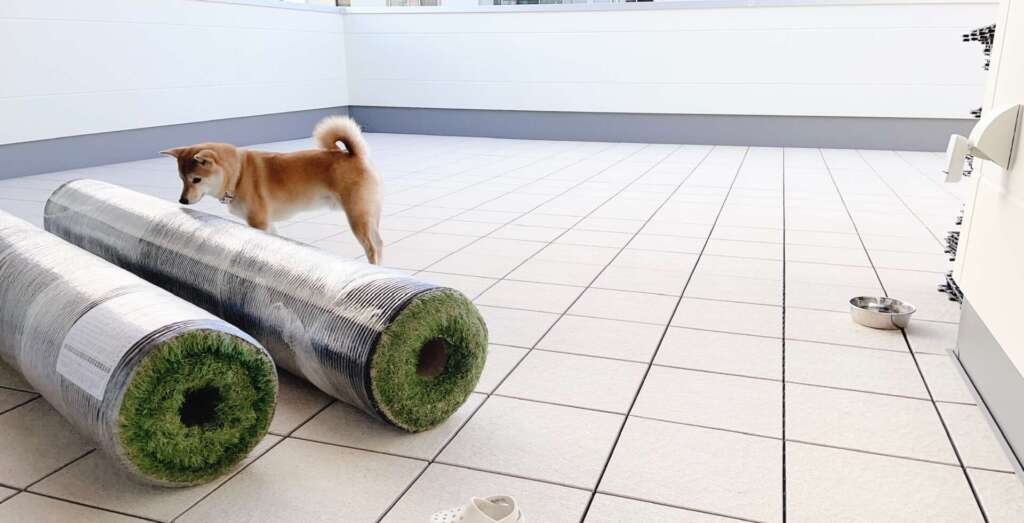
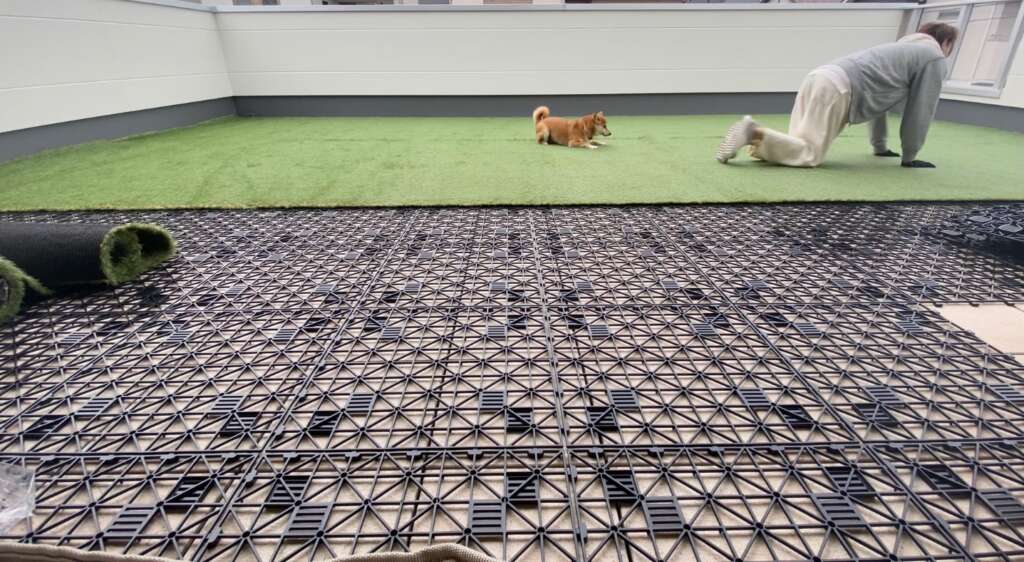
まずはタイルの上に「水捌け用のパネル」を敷き詰める事からはじめました。
![](https://ringo-no-outi.blog/wp-content/uploads/2021/10/A84F4D37-2B16-4F98-9C18-F1B62DAA4453-1024x583.jpg)
こんな感じで水捌け用のパネル(50㎝×50㎝)を一面に敷きます。(簡単にジョイントできます!)
![](https://ringo-no-outi.blog/wp-content/uploads/2021/09/1EBB07E1-CCE4-4B8C-A126-5E7F1C550E0E-1-e1631623449243.jpg)
もともとのタイルも水が下に捌けるつくりになっており、工務店の方からは直接人工芝を敷いてもいいと言われていました。ただタイルの上に直接両面テープを貼るのが個人的に「・・・」という感じだったので、パネルを敷く事にしました。
買ったパネルはこちら
![](https://ringo-no-outi.blog/wp-content/uploads/2021/10/51CF19FD-9080-469E-96B8-46299EDAFF38-1024x562.jpg)
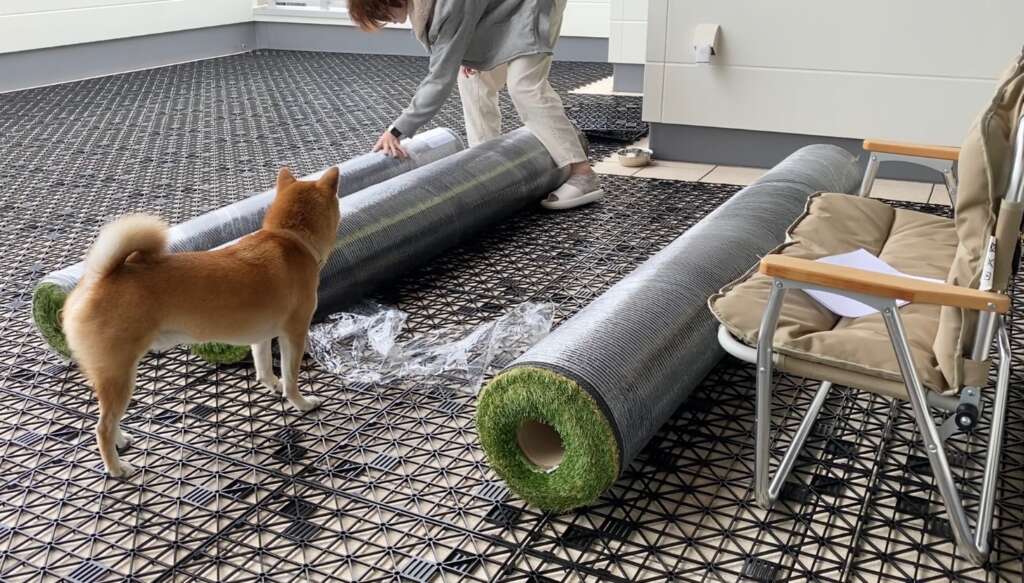
パネルを敷いた後はいよいよ人工芝の出番です。
買った人工芝はこちら
![](https://ringo-no-outi.blog/wp-content/plugins/pochipp/assets/img/pochipp-logo-t1.png)
両面テープはこちら
![](https://ringo-no-outi.blog/wp-content/plugins/pochipp/assets/img/pochipp-logo-t1.png)
![](https://ringo-no-outi.blog/wp-content/uploads/2021/09/1EBB07E1-CCE4-4B8C-A126-5E7F1C550E0E-1-e1631623449243.jpg)
ちなみに2×10Mは想像以上に重たく、2Fまで運ぶのが本当に大変でした・・。
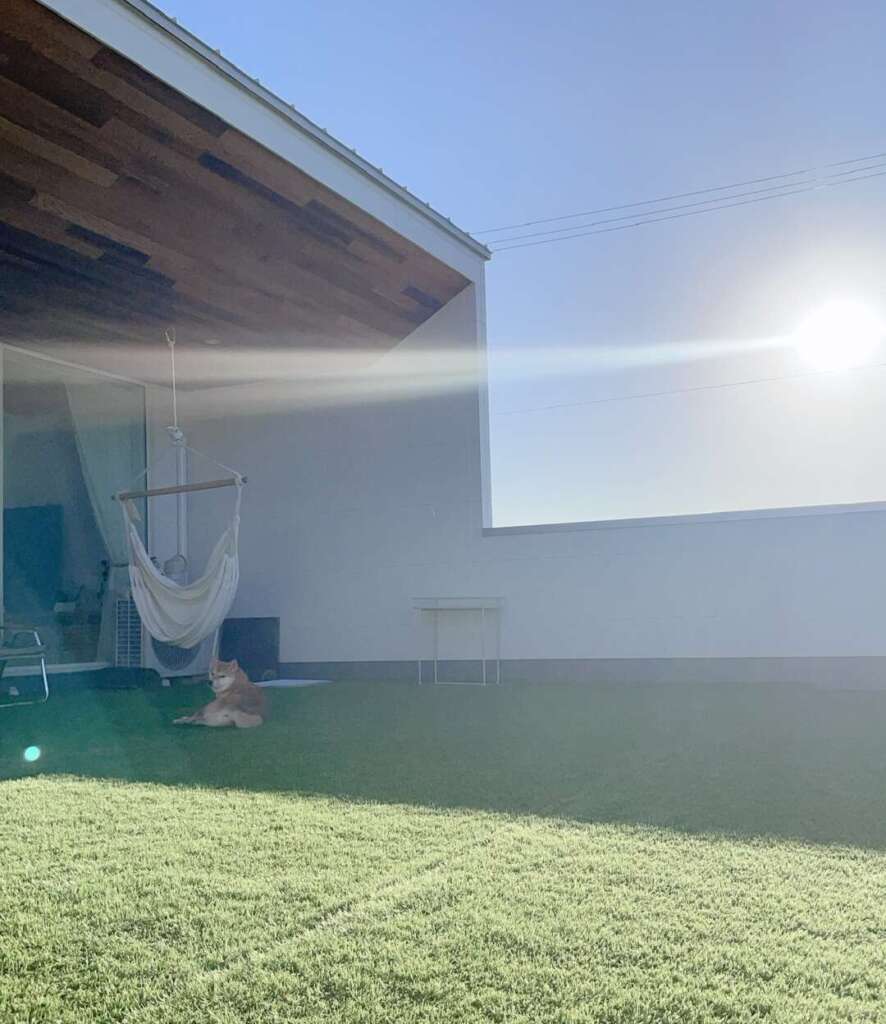
そして数日かけて人工芝の敷き詰め作業が終了。
![](https://ringo-no-outi.blog/wp-content/uploads/2021/10/3CA633A2-A5B0-4909-99D6-C50BE3894675-e1635509290354-694x1024.jpg)
![](https://ringo-no-outi.blog/wp-content/uploads/2021/10/E5A6A183-2810-49F7-8906-C47C42719BAC-e1635509341234-886x1024.jpg)
また人工芝を敷く際に難しかったのが
- 真っ直ぐ貼る事
- つなぎ目を綺麗に貼る事
![](https://ringo-no-outi.blog/wp-content/uploads/2021/09/1EBB07E1-CCE4-4B8C-A126-5E7F1C550E0E-1-e1631623449243.jpg)
はじめはただ敷けばいいと思っていたんですが、いざ敷いてみるとめちゃくちゃ難しい事に気づきました・・^^;
特に2列目以降のつなぎ目はかなり難しく、何度修正したか覚えていません。
![](https://ringo-no-outi.blog/wp-content/uploads/2021/10/54D4BFC5-3389-4D75-9A0F-7644AB28D4E4-e1635509316318-823x1024.jpg)
![](https://ringo-no-outi.blog/wp-content/uploads/2021/10/FB344F8F-A74E-47D5-912D-05EBE4F476E5-1024x591.jpg)
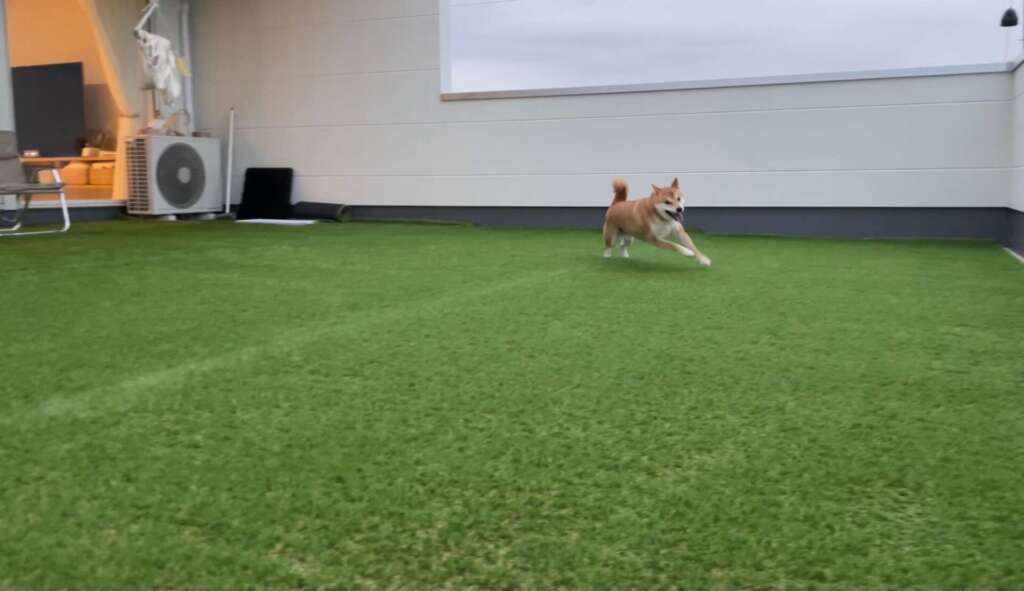
そして完成後にりんご郎が走り回る姿を見ると
![](https://ringo-no-outi.blog/wp-content/uploads/2021/09/1EBB07E1-CCE4-4B8C-A126-5E7F1C550E0E-1-e1631623449243.jpg)
あ〜やっぱつくってよかったなぁ・・
としみじみ感じてしまった父であります。
これからりんご郎にとってお気に入りの場所となってくれるといいなぁと思います。(てかなってくれないと困る笑)
またドッグランをつくっていく様子は動画に編集してYouTubeにアップする予定ですのでお楽しみに。
コメント